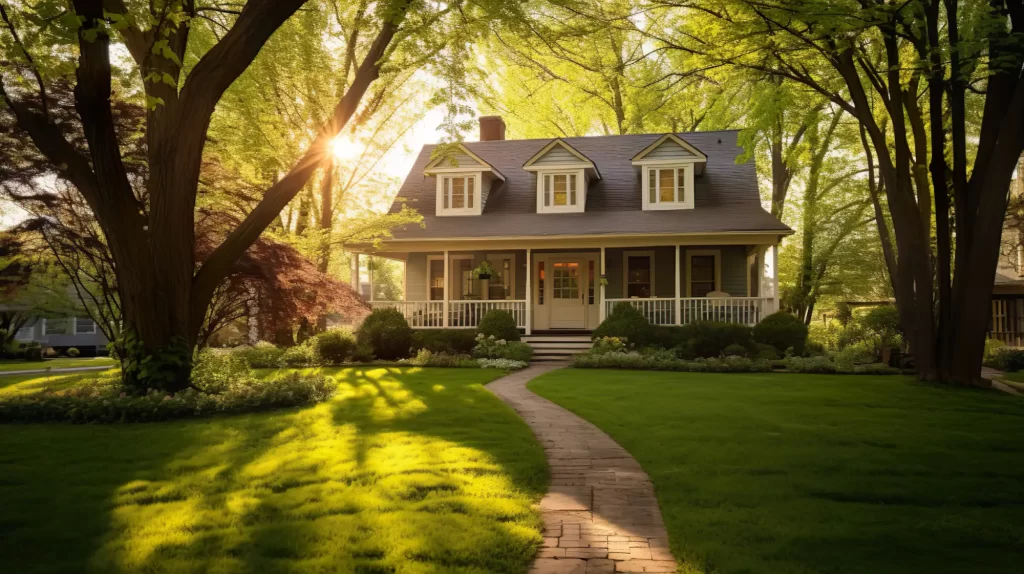
Elevated landscapes start with design, not guesswork. We design with balance, spacing, and long-term growth in mind so your landscape stays crisp, cohesive, and timeless as it matures.
A thoughtfully designed landscape changes how a home feels. With degrees in landscape horticulture and 20 plus years of experience, our team designs with restraint, structure, and long-term performance in mind so the result feels polished now and even better as it matures. Your design can incorporate planting and sod installation, lighting, hardscapes, irrigation, drainage, and water features, all planned together so every element belongs and the outdoor space reads as one complete environment.
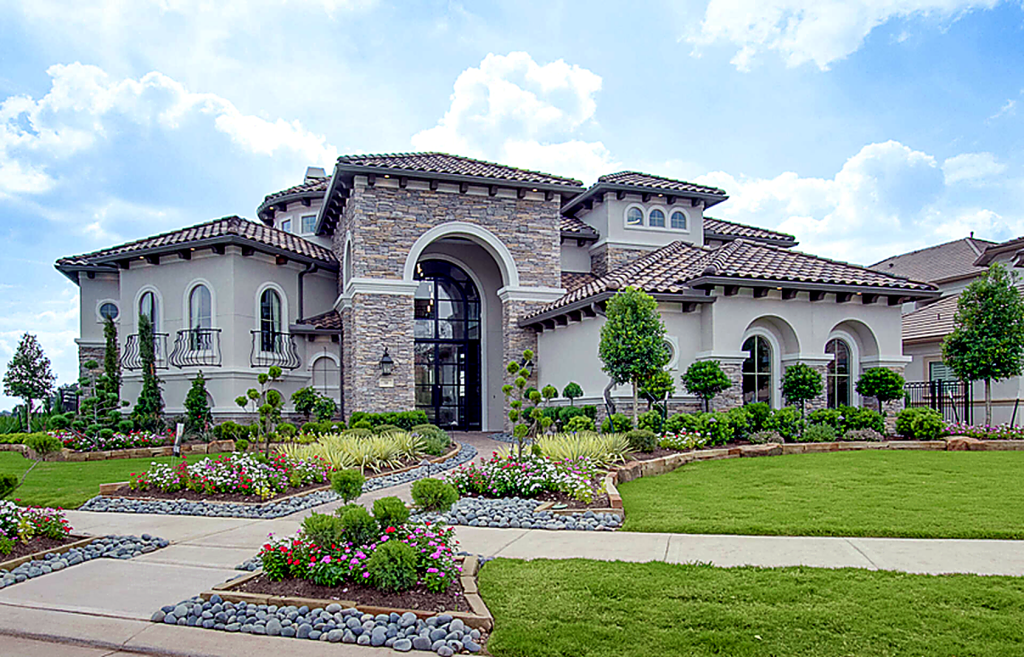
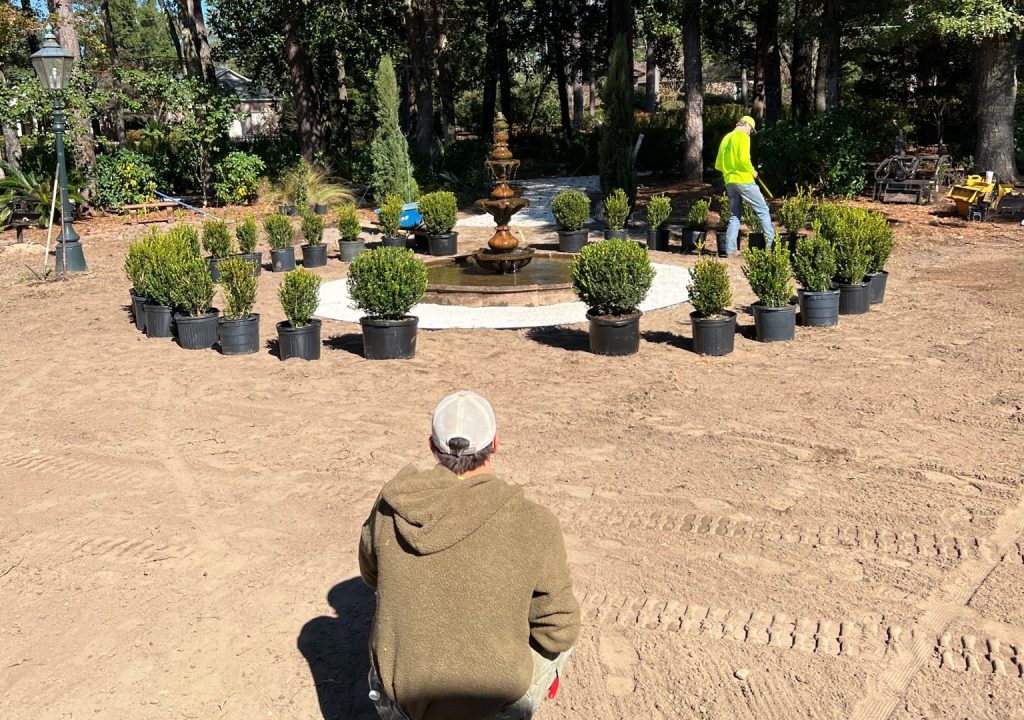
Details are what separate a good landscape install from a great one. Our team considers not only beauty, but also foot traffic, transitions between spaces, drainage, and long-term growth so the landscape stays functional as it matures. We keep the jobsite orderly throughout the install, protect surrounding turf and surfaces, and leave the property clean when we’re done. The difference shows immediately in how finished the landscape feels on day one.
You should never be guessing where things stand. We walk you through the plan, confirm the scope, and set expectations on timing and next steps. During the project you’ll know when we’re arriving, what we’re doing that day, and what to expect afterward. Questions get answered quickly, changes get discussed before they happen, and the project stays organized from consult to walkthrough.